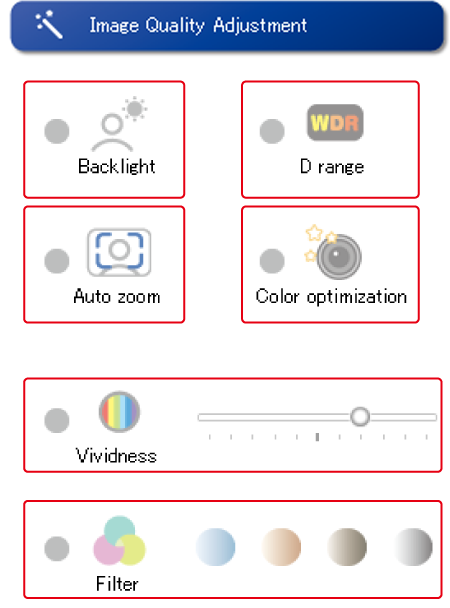
Image quality adjustment
Select whether to enable / disable the resolution adjustment function.
To activate the feature, click the ● button to enable (●).
Click it again to deactivate it (●).
- If the WEB camera is equipped with the same function, give priority to the function on the WEB camera side and disable the function of WebCam+.
- Backlight
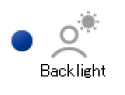
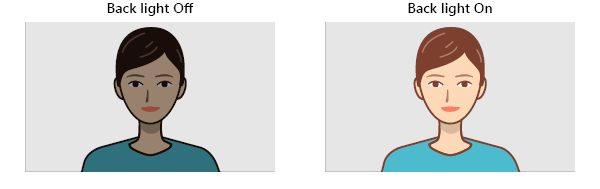
- When backlight compensation is enabled, the brightness of a subject darkened by backlighting is increased so that the face can be seen more easily.
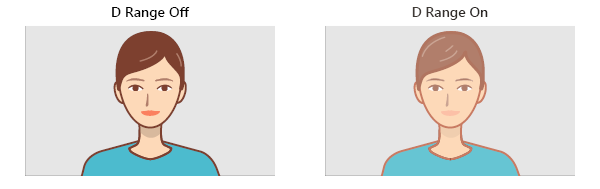
- D range expansion
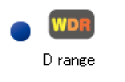
- It gives an extended dynamic range, an effect similar to backlight compensation, an elegant atmosphere, and a lightening effect on the face.
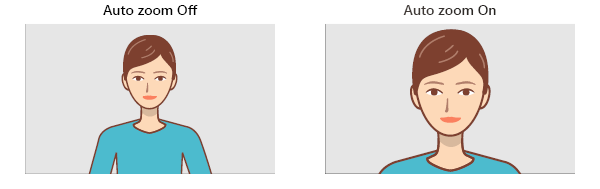
- Auto zoom
-

- Detects a person and zooms the face to the center of the screen.
When auto-zoom is enabled, AI technology will detect a person and the app will automatically focus and zoom in and out. -
- Color optimization
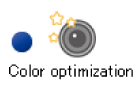
- Optimally adjusts the tone (tone curve) and brightness of the image.
With color optimization enabled, the video will be optimized according to the connected web camera. 
- Vividness
-
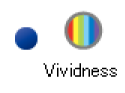
- Adjust the saturation (color depth) to your taste.
Activate Vividness and adjust the saturation with the slide bar.
Enhancing Vividness displays images with vivid and clear colors.
On the other hand, decreasing Vividness can make the image look softer. 
- Filter
-
- There are four different color filters to choose from.
Activate Filters and select a filter.
You can choose cool, warm, sepia, or monochrome settings.
It may not match well with the Face Retouch process, in which case you should disable the filter. 