WebCam+ screen
We explain how to start up ELECOM WebCam+.
This section describes each item in the WebCam+ screen.
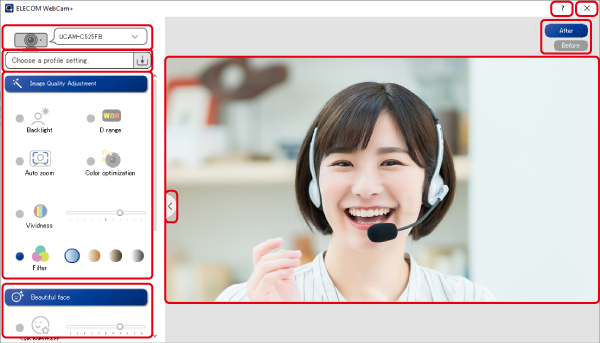
- Camera selection
When there are multiple web cameras connected to your PC at the same time, select a camera.
If a ELECOM web camera is connected, model name is displayed on the screen.- If there is only one web camera connected to the computer, that web camera will be selected.
- If you have multiple web cameras connected to your PC at the same time, please select a camera.
- Setting saving/loading
- You can save the settings of WebCam+ and load and use the saved settings (profile).
 Click the button to display a pull-down menu of saved settings.
Click the [Create New] button to save the current settings. 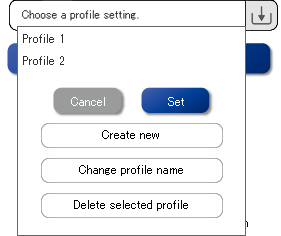
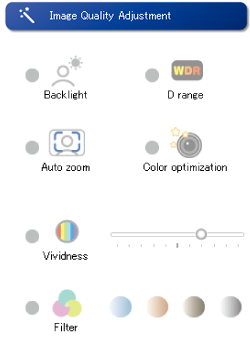
- Image quality adjustment
- Select the item for which you want to adjust the picture quality.
- Face Retouch
- Select the Face Adjustment item.
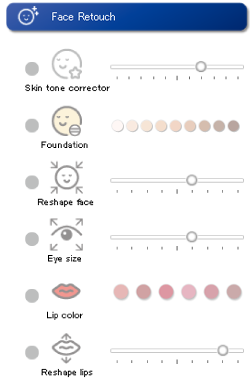
 Face Retouch
- Preview button
- Click on it to open the preview screen.
Click it again to deactivate the preview screen.- Preview screen
- Displays the video input from the web camera or the video being processed.
- After/Before button
- By switching the preview screen, you can compare the images before and after the adjustment.
Click the [After] button to preview the video after adjustment.
Click the [Before] button to preview the video before adjustment.
Before adjustment (Before)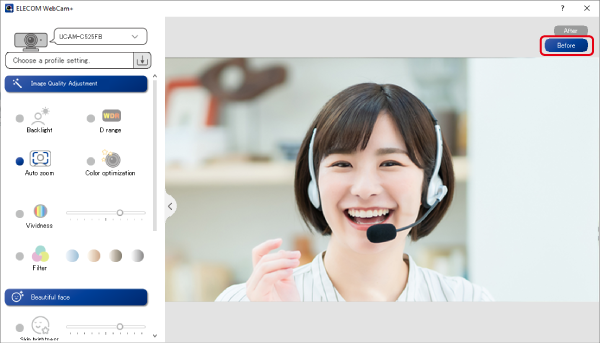
After adjustment (After)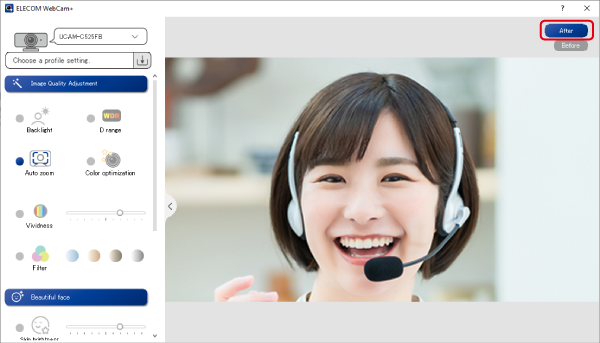
- Help button
- Click to display the help screen.
- Close button
- Click to close the WebCam+ screen.
The app keeps running, and the processed video from the webcam keeps being sent to the WebCam assistant and the conference app.